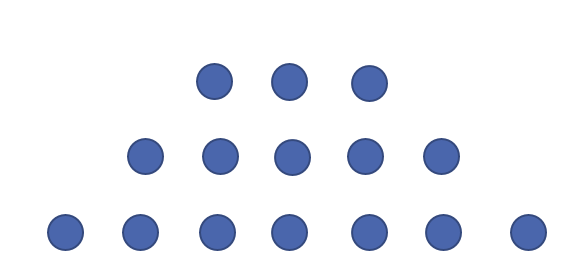
Pencil Puzzles
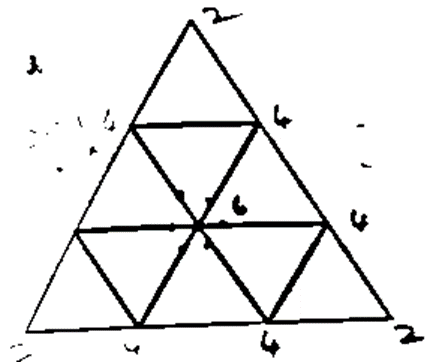
Can you draw these figures without lifting your pencil off the paper? You are not allowed to retrace any lines but you can cross over lines
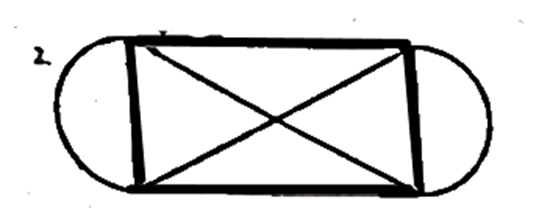
3
4
5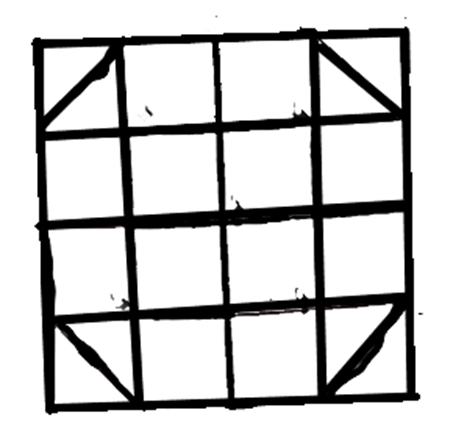
6
7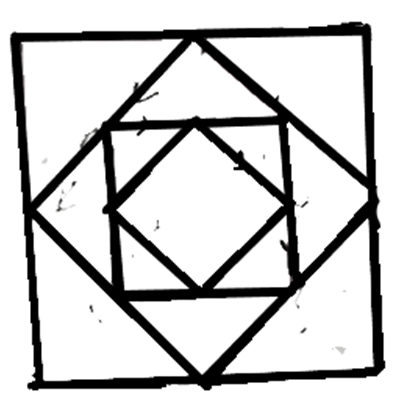
8
Pencil Puzzles - solution
Can you draw these figures without lifting your pencil off the paper? You are not allowed to retrace any lines but you can cross over lines
Solution:
Figure 1: yes. Start any vertex and complete it at other end. (All even vertices)
Figure 2: yes, Start at any even vertices and complete it at other end. ( All even vertices)
Figure 3: yes, Start at any even vertices and complete it at other end. (All even vertices)
Figure 4: yes, Start at any odd vertex (3) and complete it at other end. (it has exactly 2 odd vertices)


Can you draw these figures without lifting your pencil off the paper? You are not allowed to retrace any lines but you can cross over lines
Solution:
Figure 5: no, It has more than 2 odd vertices.
Figure 6: yes, Start at any even vertices and complete it at other end. ( All even vertices)
Figure 7: yes, Start at any even vertices (4) and complete it at other end. (All even vertices)
Figure 8: no, It has more than 2 odd vertices.